Flutter Mobile Scanner: Efficient and Reliable Scanning Solution
in Flutter on August 18, 2024by Kawser Miah
Flutter Mobile Scanner is a package that allows developers to easily integrate barcode and QR code scanning into their Flutter mobile applications. Known for its simplicity and efficiency, Flutter Mobile Scanner is a go-to tool for adding robust scanning functionality to Flutter apps
Table of Contents
Flutter Mobile Scanner
1.1.Importance
In today’s mobile-centric world, scanning functionalities are more important than ever. From scanning QR codes for payments to reading barcodes for product information, the ability to scan various types of codes is crucial in a wide range of mobile applications. The Mobile Scanner package makes it easy to implement these features, providing users with a seamless and interactive experience.
2. Getting Started with Flutter Mobile Scanner
2.1.Installation
To get started with Mobile Scanner, you’ll first need to add it to your Flutter project. Open your ‘pubspec.yaml’ file and add the following dependency:
dependencies:
  mobile_scanner: ^5.1.1
After adding the dependency, run `flutter pub get` to install the package.
2.2.Setup
Now you need to do some platform setup for this to work.
Requirements:
The Flutter Mobile Scanner package requires a minimum Android SDK version of 21 (Lollipop) due to the Camera2 API, which enables advanced scanning features. For iOS, a minimum deployment target of iOS 11.0 is needed to leverage AVCaptureSession enhancements for reliable barcode and QR code scanning.
For Android:
Go to android>app>build.gradle file and update the minSdkVersion to 21.
defaultConfig {
    applicationId "com.example.qr_code_scanner"
    minSdkVersion 21
    targetSdkVersion flutter.targetSdkVersion
    versionCode flutterVersionCode.toInteger()
    versionName flutterVersionName
}
For iOS:
Go to ios>Runner>info.plist file and add below two keys
<key>NSCameraUsageDescription</key>
<string>QR code scanner needs camera access to scan QR codes</string>

<key>NSPhotoLibraryUsageDescription</key>
<string>QR code scanner needs photos access to get QR code from photo library</string>
3. Basic Implementation
3.1.Code Example
Let’s dive into a basic implementation of the Flutter Mobile Scanner package. Below is a simple example of integrating a barcode/QR code scanner into your Flutter app.
Add an import for mobile_scanner in your main.dart file
import 'package:mobile_scanner/mobile_scanner.dart';MobileScanner(
controller: MobileScannerController(
detectionSpeed: DetectionSpeed.noDuplicates,
returnImage: true),
onDetect: (capture) {
final List<Barcode> barcodes = capture.barcodes;
final Uint8List? image = capture.image;
for (final barcode in barcodes) {
print(barcode.rawValue ?? "No Data found in QR");
}
if (image != null) {
showDialog(
context: context,
builder: (context) => AlertDialog(
title: Text("QR Code Details: ${barcodes.first.rawValue}" ??
"No Data found in QR"),
content: Image(image: MemoryImage(image)),
));
}
});3.2.Explanation
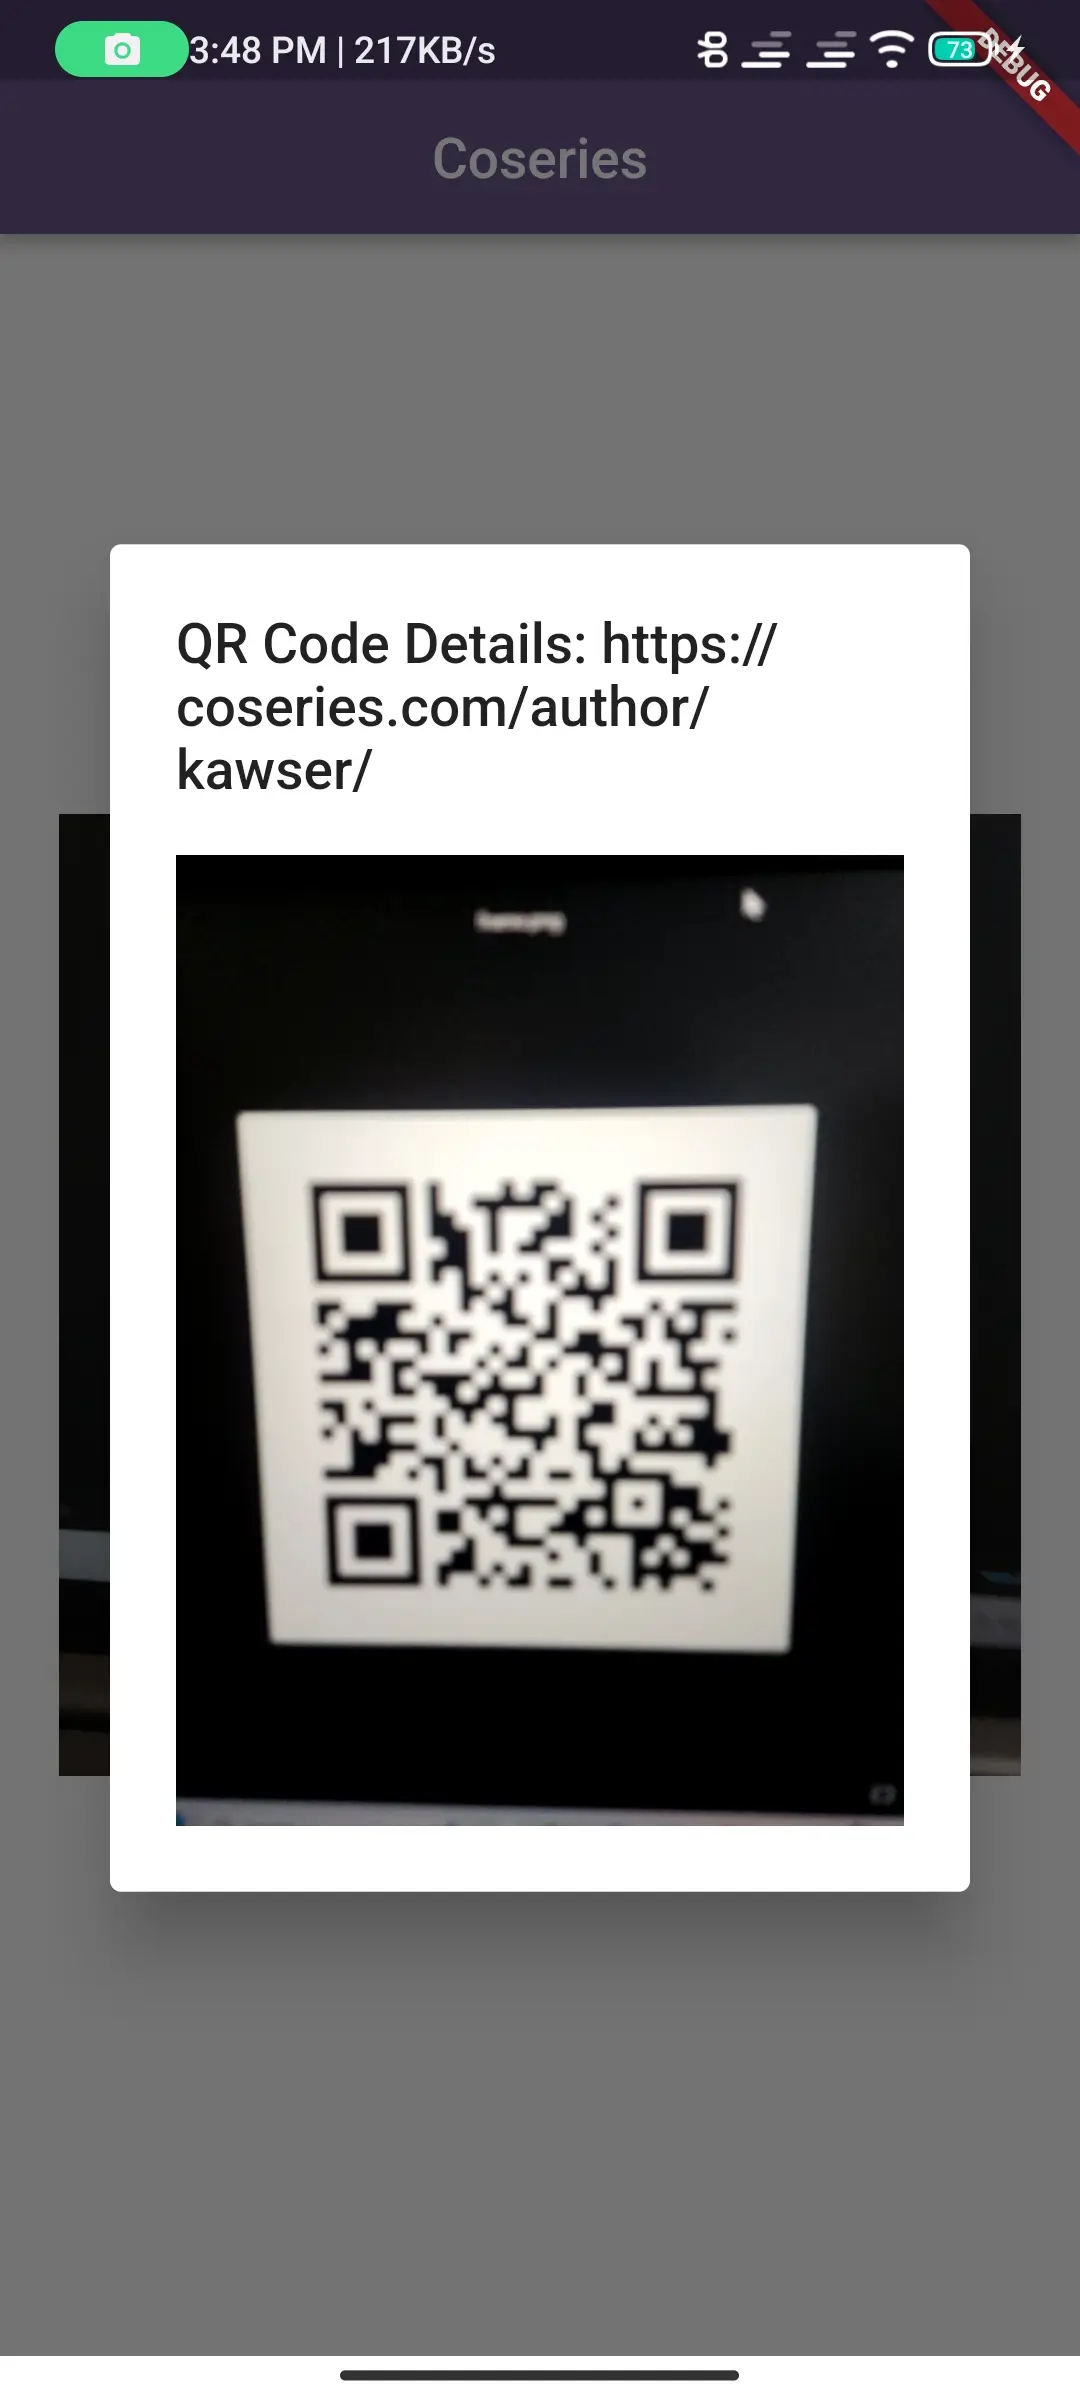
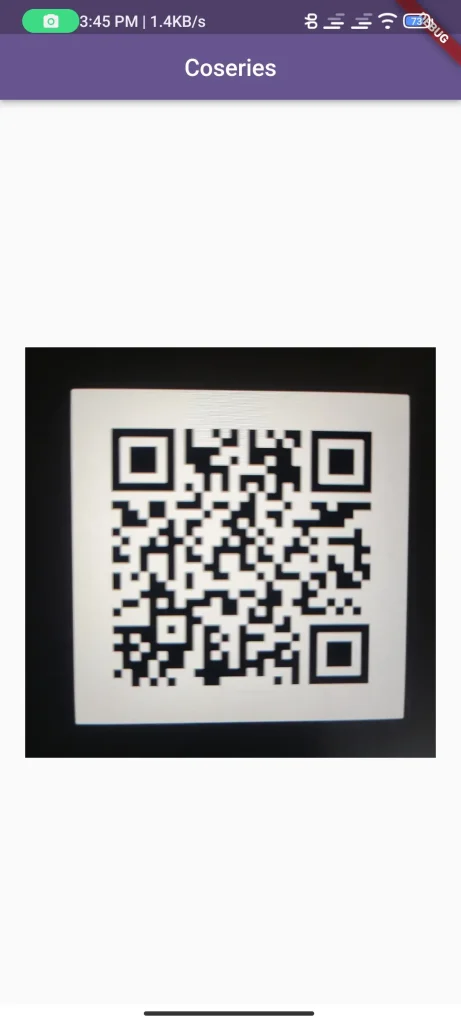
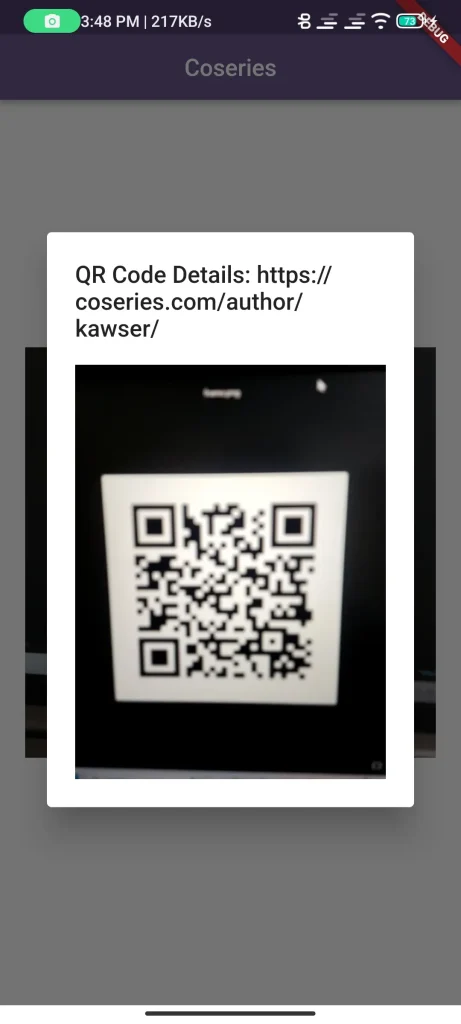
In this example, we use the ‘MobileScanner’ widget to create a barcode and QR code scanner. The ‘onDetect’ callback is triggered whenever the scanner detects a code. It then processes the detected code(s) and, if an image is available, displays the code details and the scanned image in a dialog box.
The ‘MobileScannerController’ is configured to avoid detecting duplicate codes and to return an image of the scanned area. When a code is detected, the ‘onDetect’ callback handles the data by printing the code’s value and, if an image is available, displaying it in an alert dialog.
This setup allows for efficient code scanning with the added functionality of showing the scanned code and image to the user, making the implementation both powerful and user-friendly.
Output:

4. Common Issues and Solutions
4.1.Troubleshooting
Some common issues developers might encounter when using Flutter Mobile Scanner include camera permission errors, slow scanning performance, and compatibility issues with certain devices. Here are a few solutions:
Camera Permission Error: Ensure that camera permissions are correctly added to your Android and iOS configuration files. Double-check the spelling and syntax of the permission keys.
Slow Scanning Performance: If scanning is slow, try reducing the scanning area size or optimizing the camera resolution.
Device Compatibility: Test the scanner on different devices to ensure it works well across various screen sizes and camera types. You may need to adjust the ‘scanWindow’ or camera settings based on device capabilities.
4.2.Best Practices
Optimize Scanning Area: Limit the scanning area to improve performance and focus on the desired code.
Test Across Devices: Ensure your implementation works smoothly on different devices with varying camera qualities.
Handle Edge Cases: Account for scenarios where scanning might fail, such as poor lighting conditions or damaged barcodes.
5. Use Cases
5.1.Examples
The Flutter Mobile Scanner package is versatile and can be used in various applications, including:
E-commerce: Scanning product barcodes to retrieve information or add items to a shopping cart.
Event Check-ins: Using QR codes for event registrations and check-ins.
Payment Systems: Scanning QR codes for quick and secure payments.
5.2.Success Stories
Many apps have successfully integrated Flutter Mobile Scanner to enhance user experience. For example, event management apps use the package to streamline check-in processes, while retail apps use it for quick barcode scanning and inventory management.
6. Final Code
import 'dart:typed_data';

import 'package:flutter/material.dart';
import 'package:mobile_scanner/mobile_scanner.dart';

void main() {
  runApp(const MyApp());
}

class MyApp extends StatelessWidget {
  const MyApp({super.key});

  @override
  Widget build(BuildContext context) {
    return MaterialApp(
      title: 'coseries.com',
      theme: ThemeData(
        colorScheme: ColorScheme.fromSeed(seedColor: Colors.deepPurple),
        useMaterial3: false,
      ),
      home: const MyHomePage(title: 'Coseries'),
    );
  }
}

class MyHomePage extends StatefulWidget {
  final String title;
  const MyHomePage({super.key, required this.title});

  @override
  State<MyHomePage> createState() => _MyHomePageState();
}

class _MyHomePageState extends State<MyHomePage> {
  @override
  Widget build(BuildContext context) {
    return Scaffold(
      appBar: AppBar(
        title: Text(widget.title),
        centerTitle: true,
      ),
      body: Center(
        child: SizedBox(
          height: 350,
          width: 350,
          child: MobileScanner(
              controller: MobileScannerController(
                  detectionSpeed: DetectionSpeed.noDuplicates,
                  returnImage: true),
              onDetect: (capture) {
                final List<Barcode> barcodes = capture.barcodes;
                final Uint8List? image = capture.image;
                for (final barcode in barcodes) {
                  print(barcode.rawValue ?? "No Data found in QR");
                }
                if (image != null) {
                  showDialog(
                      context: context,
                      builder: (context) => AlertDialog(
                            title: Text(
                                "QR Code Details: ${barcodes.first.rawValue}" ??
                                    "No Data found in QR"),
                            content: Image(image: MemoryImage(image)),
                          ));
                }
              }),
        ),
      ),
    );
  }
}
Output:

7. Conclusion
7.1.Recap
The Flutter Mobile Scanner package in Flutter is a robust and easy-to-use tool for adding scanning functionality to your mobile applications. From basic implementations to advanced customizations, Flutter Mobile Scanner offers a wide range of features to meet your app’s needs.
7.2.Encouragement
I encourage you to try out the Mobile Scanner package in your projects. Its simplicity and versatility make it an excellent choice for any Flutter developer looking to incorporate scanning capabilities into their apps.
8. Additional Resources
8.1.Links
You can read also: Create Stunning Flutter Calendar UIs with Ease


