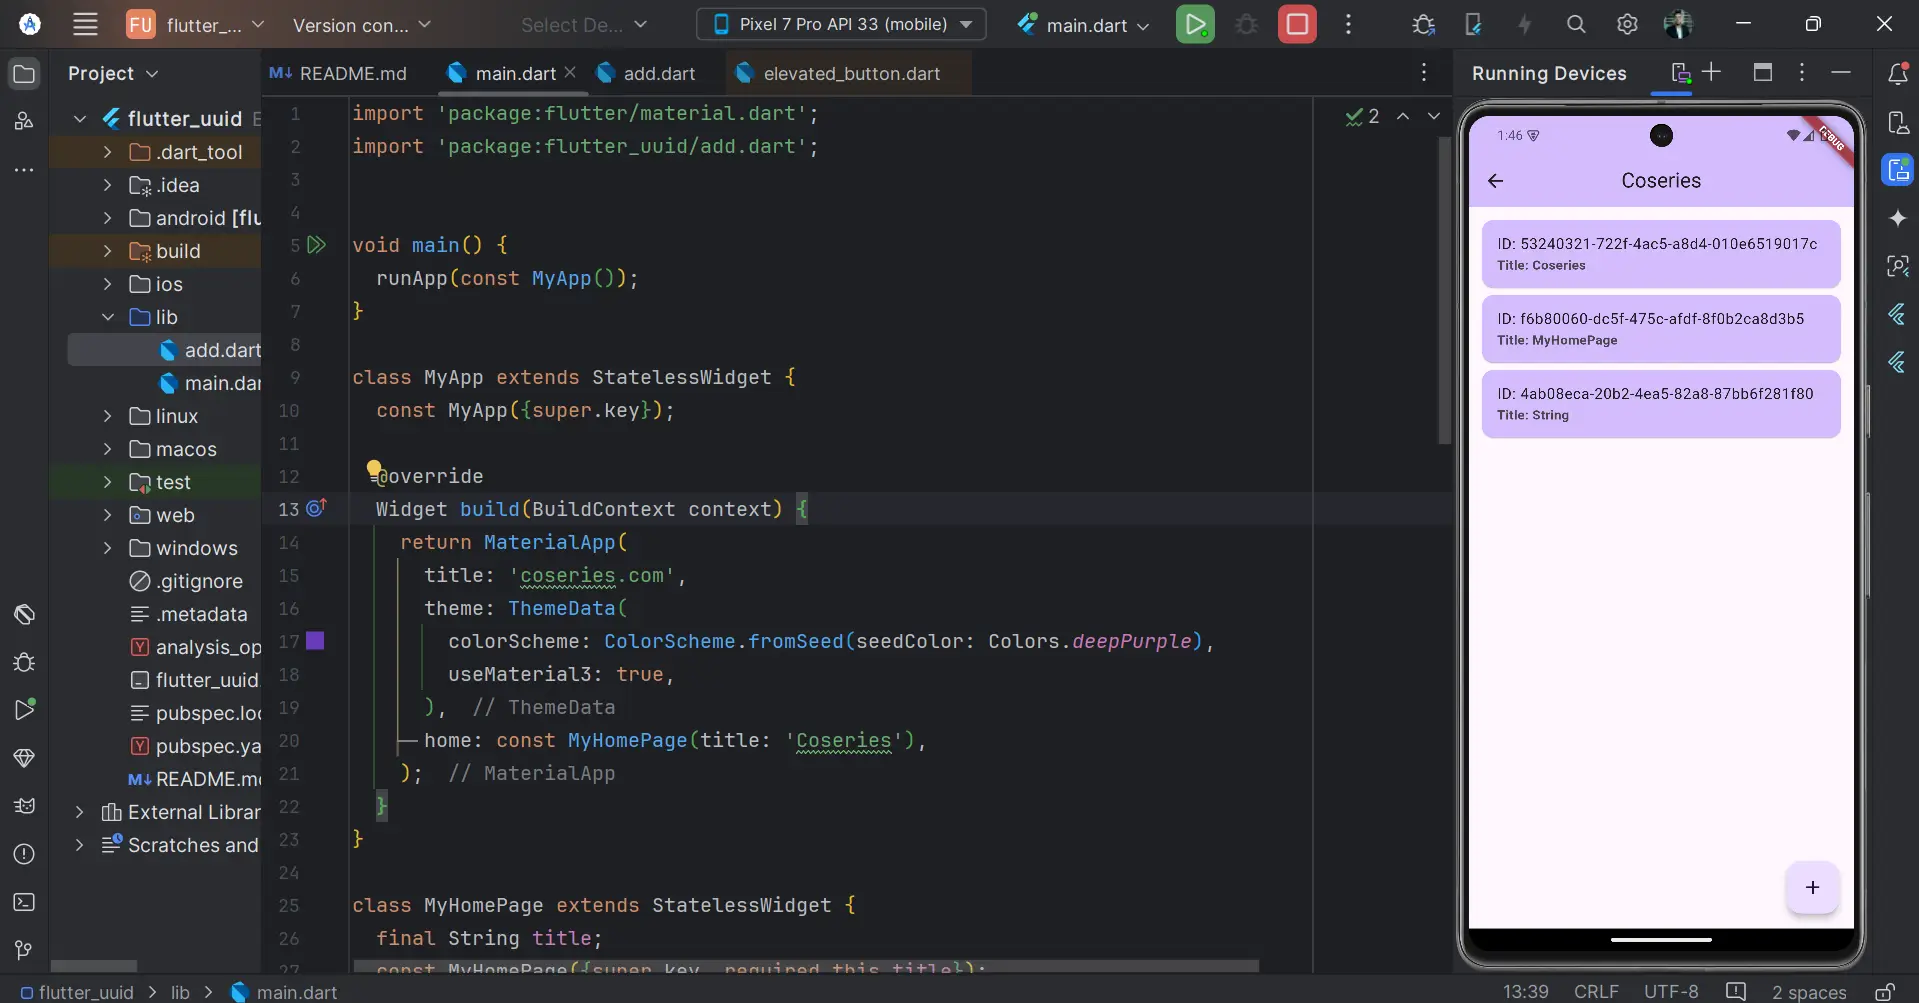
Flutter UUID: Generate Unique Identifiers Effortlessly
in Flutter on September 11, 2024by Kawser MiahIn app development, Flutter UUID is crucial in managing unique identifiers that ensure data is correctly organized, referenced, and managed. Whether you’re handling user accounts, session identifiers, or database keys, having a reliable method to generate unique IDs is essential. This is where the concept of UUID (Universally Unique Identifier) comes into play. In this guide, we’ll explore the importance of UUIDs, how to implement them in Flutter using the uuid package, and the best practices for leveraging them in your projects. By mastering the Flutter UUID package, you’ll be equipped to enhance your app development process with unique identifiers.
Table of Contents
Flutter UUID
What is UUID?
UUID stands for Universally Unique Identifier, a 128-bit number used to identify information in computer systems uniquely. UUIDs are standardized by the Open Software Foundation (OSF) and can be generated in multiple ways, leading to different versions. The most commonly used versions are:
- UUID v1: Generated using a combination of the computer’s MAC address, current timestamp, and a random component.
- UUID v4: Entirely random and does not rely on timestamps or hardware details.
UUIDs are widely used in databases, network protocols, and distributed systems due to their uniqueness, which minimizes the chances of collision or duplication. Implementing these identifiers in your Flutter projects is made simple with the Flutter UUID package.
Setting Up the uuid Package in Flutter
To start using UUIDs in your Flutter project, you’ll need to add the uuid package to your project dependencies. Here’s a step-by-step guide to integrating the Flutter UUID package:
Adding the Dependency
Add the uuid package under the dependencies section:
yaml
dependencies:
  uuid: ^3.0.6 //Replace with the latest version
The Flutter UUID package is now ready to be used in your project, enabling you to generate unique identifiers effortlessly.
Generating UUIDs in Flutter
Once the Flutter UUID package is set up, generating UUIDs is straightforward. Below are examples of how to generate different types of UUIDs using this package.
Generating a UUID v1:
import 'package:uuid/uuid.dart';

var uuid = Uuid();
var uuidV1 = uuid.v1();
print(uuidV1);  // Example output: '6f48c60c-9d4b-11e9-8a44-98d3c43e3d7e'
Generating a UUID v4:
import 'package:uuid/uuid.dart';

var uuid = Uuid();
var uuidV4 = uuid.v4();
print(uuidV4);  // Example output: '8d8c68ea-bd3f-4b42-8b9c-3c256bf56d4f'
These examples demonstrate how to leverage the Flutter UUID package to generate different types of UUIDs quickly and easily, which can then be used throughout your Flutter application.
Simple Output

Use Cases for UUIDs in Flutter
UUIDs are incredibly versatile and can be applied in a variety of scenarios within your Flutter projects. Some common use cases include:
- Database Keys: When storing data in a database, using a UUID as the primary key ensures that each record is uniquely identifiable, even if the database is distributed across multiple servers.
- Session Identifiers: UUIDs can be used to track user sessions, ensuring that each session is unique and cannot be duplicated.
- Object Identifiers: Assigning a UUID to an object, such as a user profile or an item in an inventory, allows you to manage and reference these objects more effectively.
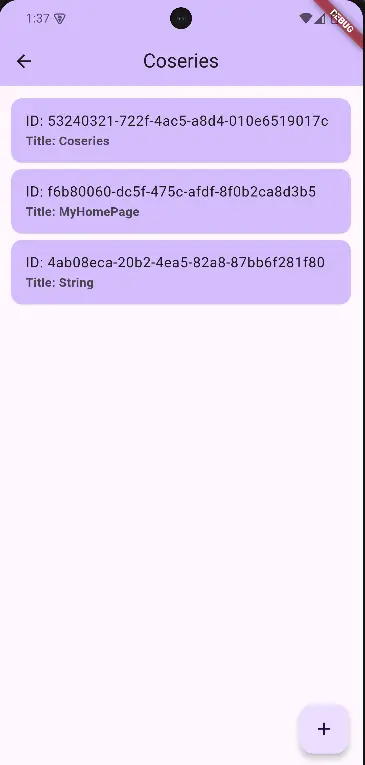
For example, consider a Flutter app where each items needs a unique ID:
main.dart
import 'package:flutter/material.dart';
import 'package:flutter_uuid/add.dart';


void main() {
  runApp(const MyApp());
}

class MyApp extends StatelessWidget {
  const MyApp({super.key});

  @override
  Widget build(BuildContext context) {
    return MaterialApp(
      title: 'coseries.com',
      theme: ThemeData(
        colorScheme: ColorScheme.fromSeed(seedColor: Colors.deepPurple),
        useMaterial3: true,
      ),
      home: const MyHomePage(title: 'Coseries'),
    );
  }
}

class MyHomePage extends StatelessWidget {
  final String title;
  const MyHomePage({super.key, required this.title});

  @override
  Widget build(BuildContext context) {
    return Scaffold(
      appBar: AppBar(
        backgroundColor: Theme.of(context).colorScheme.inversePrimary,
        title: Text(title),
        centerTitle: true,
      ),
      body: Padding(
        padding: const EdgeInsets.all(10),
        child: ListView.builder(
            itemCount: Utils.testList.length,
            itemBuilder: (context, index) {
              return Card(
                  color: Theme.of(context).colorScheme.inversePrimary,
                  child: ListTile(
                    title: Text("ID: ${Utils.testList[index].id}"),
                    subtitle: Text(
                      "Title: ${Utils.testList[index].title}",
                      style: const TextStyle(fontWeight: FontWeight.bold),
                    ),
                  ));
            }),
      ),

      floatingActionButton: FloatingActionButton(
        onPressed: () {
          Navigator.push(context, MaterialPageRoute(builder: (context) {
            return const AddItem();
          }));
        },
        tooltip: 'Increment',
        child: const Icon(Icons.add),
      ), // This trailing comma makes auto-formatting nicer for build methods.
    );
  }
}
add.dart
import 'package:flutter/material.dart';
import 'package:uuid/uuid.dart';

import 'main.dart';

class AddItem extends StatefulWidget {
  const AddItem({super.key});

  @override
  State<AddItem> createState() => _AddItemState();
}

class _AddItemState extends State<AddItem> {
  final titleController = TextEditingController();
  @override
  Widget build(BuildContext context) {
    return Scaffold(
      appBar: AppBar(
        backgroundColor: Theme.of(context).colorScheme.inversePrimary,
        title: const Text("Coseries"),
        centerTitle: true,
      ),
      body: Padding(
        padding: const EdgeInsets.all(10),
        child: Column(
          children: [
            TextField(
              controller: titleController,
              decoration: InputDecoration(
                  hintText: "Enter Title",
                  border: OutlineInputBorder(
                      borderRadius: BorderRadius.circular(20),
                      borderSide: BorderSide.none),
                  fillColor: Theme.of(context).colorScheme.inversePrimary,
                  filled: true),
            ),
            const SizedBox(
              height: 20,
            ),
            ElevatedButton(
                style: ElevatedButton.styleFrom(
                  backgroundColor: Theme.of(context).colorScheme.inversePrimary,
                ),
                onPressed: () {
                  Utils.testList
                      .add(Item(title: titleController.text, id: Uuid().v4()));
                  Navigator.pushReplacement(context,
                      MaterialPageRoute(builder: (context) {
                    return MyHomePage(
                      title: 'Coseries',
                    );
                  }));
                },
                child: const Text(
                  "Submit",
                  style: TextStyle(color: Colors.black),
                ))
          ],
        ),
      ),
    );
  }
}

class Item {
  final String id;
  final String title;

  Item({required this.title, required this.id});
}

class Utils {
  static List<Item> testList = [
    Item(title: "Coseries", id: Uuid().v4()),
  ];
}
Output
Best Practices and Considerations
While UUIDs are powerful tools, there are some best practices and considerations to keep in mind:
- Efficiency: While UUIDs are unique, they are also large (128-bit). Consider the storage and performance implications when using them as primary keys in large databases.
- Version Choice: Depending on your use case, choose the appropriate UUID version. For example, use UUID v1 when you need a time-based identifier and UUID v4 for a random identifier.
- Security: Be mindful that UUID v1 includes the MAC address and timestamp, which could potentially expose information about the server generating the UUID. If security is a concern, prefer UUID v4.
By following these best practices, you can ensure that your use of the Flutter UUID package is both effective and secure.
Conclusion
UUIDs play a vital role in ensuring data integrity and uniqueness across various applications. With the Flutter UUID package, generating and managing UUIDs becomes a straightforward task. By following the steps outlined in this guide, you can easily implement UUIDs in your Flutter projects and ensure that your app’s data remains organized and collision-free.
Now that you have a solid understanding of UUIDs and how to use the Flutter UUID package in Flutter, it’s time to experiment and see how UUIDs can enhance your projects. Whether you’re building a simple app or a complex system, the power of the Flutter UUID package is just a few lines of code away.
Additional Resources
Links
You can read also: Common Issues and Effective Solutions On Column Overflow


