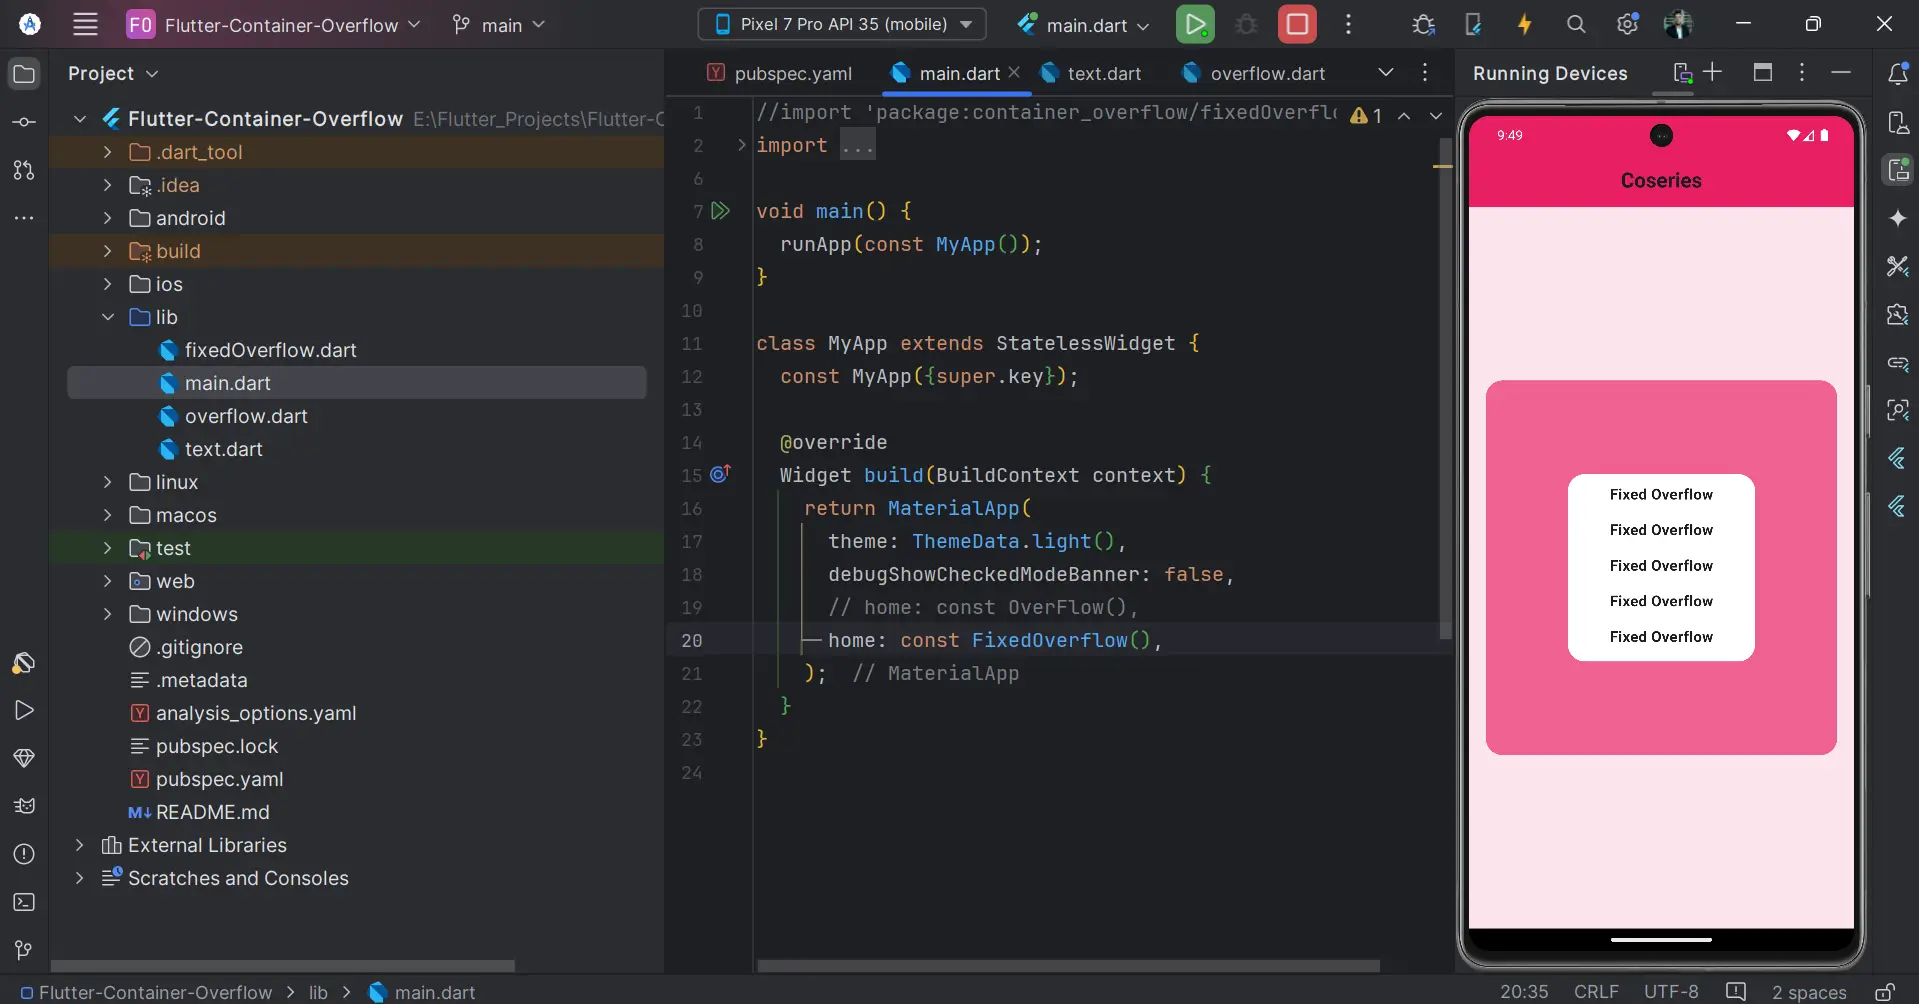
Flutter Container Overflow is a common issue developers face when designing user interfaces in Flutter. It occurs when a widget’s content exceeds the available space in its parent container, leading to a Flutter Container Overflow error. In this article, we’ll explore the causes of container overflow, how to identify it, and most importantly, how to fix it.
Table of Contents
Flutter Container Overflow
What is Container Overflow in Flutter?
Container overflow happens when the content inside a container exceeds the container’s boundaries, either vertically or horizontally. Flutter provides visual indicators for this by displaying a yellow-and-black striped bar in the areas where content overflows. This issue is often seen in widgets like Column, Row, or Stack, where the child widgets might exceed the parent widget’s dimensions.
Common Causes of Flutter Container Overflow
1. Overflow in Non-Scrollable Widgets
A Flutter Container Overflow often occurs when a parent widget, like a Column or Row, contains multiple children that exceed its size limitations. For instance, placing too many text widgets in a Column inside a container with a fixed height can lead to vertical overflow.
Example: Vertical Container Overflow in a Column
Container(

  height: 150,

  child: Column(

    children: [

      Text("This is a short text"),

      Text("This is a very long text that might cause container overflow because the parent container has limited height."),

    ],

  ),

);
In the above example, the height of the Column exceeds the height of its parent container, resulting in a Flutter Container Overflow error.
2. Text Overflow in a Row
Text within a Row can cause a horizontal Flutter Container Overflow if the combined width of the text and other children exceeds the width of the parent container.
Container(

  width: 100,

  child: Row(

    children: [

      Text("This text is too long for the row's container."),

    ],

  ),

);
Here, the text overflows horizontally because it exceeds the available width of the Container.
Example code 1: Container overflow
import 'package:container_overflow/text.dart';
import 'package:flutter/material.dart';


class OverFlow extends StatelessWidget {
 const OverFlow({super.key});


 @override
 Widget build(BuildContext context) {
   return Scaffold(
     appBar: AppBar(
       centerTitle: true,
       backgroundColor: Colors.pink,
       title: const Text(
         'Container OverFlow',
         style: TextStyle(
           fontWeight: FontWeight.bold,
         ),
       ),
     ),
     body: Padding(
       padding: const EdgeInsets.all(18.0),
       child: Column(
         mainAxisAlignment: MainAxisAlignment.center,
         children: [
           Container(
             height: 400,
             width: 400,
             decoration: BoxDecoration(
               color: Colors.pink[300],
               borderRadius: BorderRadius.circular(18),
             ),
             child: Column(
               mainAxisAlignment: MainAxisAlignment.center,
               children: [
                 Container(
                   height: 200,
                   width: 200,
                   padding: const EdgeInsets.all(10),
                   decoration: BoxDecoration(
                     color: Colors.white,
                     borderRadius: BorderRadius.circular(18),
                   ),
                   child: const Column(
                     children: [
                       TextFlow(),
                       TextFlow(),
                       TextFlow(),
                       TextFlow(),
                       TextFlow(),
                     ],
                   ),
                 ),
               ],
             ),
           ),
         ],
       ),
     ),
   );
 }
}
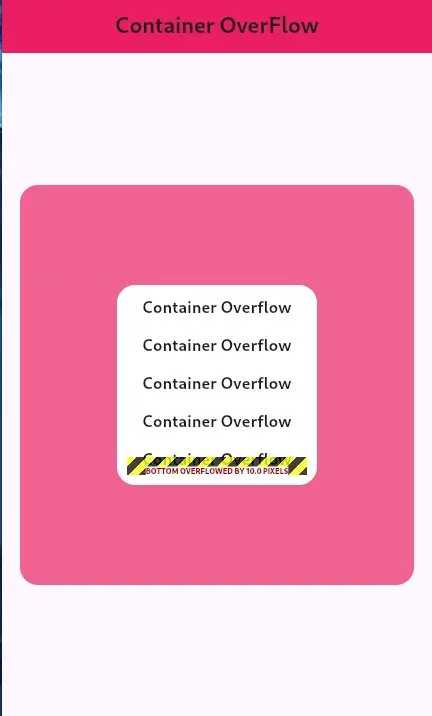
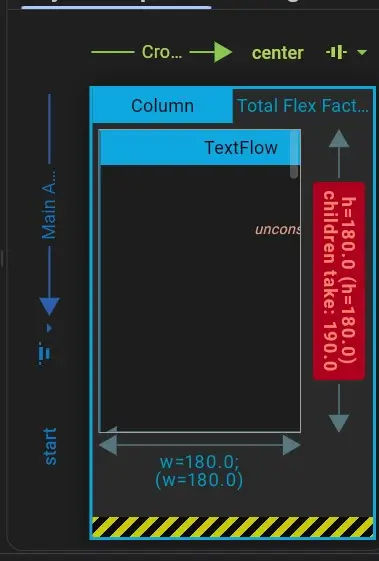
Output 1
Example code 2: Container overflow
import 'package:flutter/material.dart';


class OverFlow extends StatelessWidget {
 const OverFlow({super.key});


 @override
 Widget build(BuildContext context) {
   return Scaffold(
     appBar: AppBar(
       centerTitle: true,
       backgroundColor: Colors.pink,
       title: const Text(
         'Container OverFlow',
         style: TextStyle(
           fontWeight: FontWeight.bold,
         ),
       ),
     ),
     body: Padding(
       padding: const EdgeInsets.all(18.0),
       child: Column(
         mainAxisAlignment: MainAxisAlignment.center,
         children: [
           Container(
             height: 400,
             width: 400,
             decoration: BoxDecoration(
               color: Colors.pink[300],
               borderRadius: BorderRadius.circular(18),
             ),
             child: Column(
               mainAxisAlignment: MainAxisAlignment.center,
               children: [
                 Container(
                     height: 200,
                     width: 200,
                     padding: const EdgeInsets.all(10),
                     decoration: BoxDecoration(
                       color: Colors.white,
                       borderRadius: BorderRadius.circular(18),
                     ),
                     child: Column(
                       mainAxisAlignment: MainAxisAlignment.center,
                       children: [
                         Container(
                           height: 210,
                           width: 150,
                           decoration: BoxDecoration(
                             color: Colors.pink,
                             borderRadius: BorderRadius.circular(18),
                           ),
                         ),
                       ],
                     )),
               ],
             ),
           ),
         ],
       ),
     ),
   );
 }
}
Output 2


Understanding the Flutter Container Overflow Error
In Flutter, a container overflow error can appear in two forms:
– Vertical Overflow: Occurs when a widget exceeds its parent’s height.
– Horizontal Overflow: This happens when a widget extends beyond the width of its parent container.
The error displays a yellow-and-black striped bar at the point of overflow, indicating where the Flutter Container Overflow is occurring in the layout.
Solutions to Fix Flutter Container Overflow
There are several strategies you can use to avoid or fix Flutter Container Overflow errors, depending on your specific use case.
1. Using SingleChildScrollView for Scrollable Content
The most common solution is to wrap overflowing content in a SingleChildScrollView, which allows the content to scroll when it exceeds the available space.
SingleChildScrollView(

  child: Column(

    children: [

      TextFlow(),

      TextFlow(),

      TextFlow(),

      TextFlow(),

      TextFlow(),

    ],

  ),

);
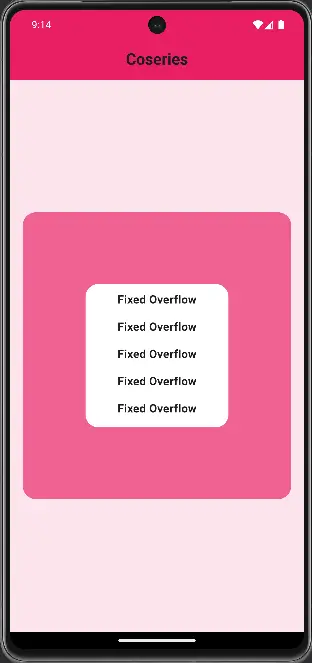
In this case, the Column is wrapped with a SingleChildScrollView, allowing vertical scrolling and avoiding Flutter Container Overflow.
Output
2. Using Flexible or Expanded Widgets
Another way to prevent overflow is by using Flexible or Expanded widgets. These dynamically adjust the size of their children based on the available space.
Example: Preventing Container Overflow with Flexible
Flexible(

  child: Container(

    height: 210,

    width: 150,

    decoration: BoxDecoration(

      color: Colors.pink,

      borderRadius: BorderRadius.circular(18),

    ),

  ),

);
The Flexible widget allows children to adjust their size to fit the available space, preventing Flutter Container Overflow.
Output

3. ConstrainedBox for Size Limitation
Using a ConstrainedBox lets you set constraints like maximum height or width for child widgets, limiting how much space a widget can take.
ConstrainedBox(

  constraints: BoxConstraints(

    maxHeight: 100,

  ),

  child: Container(

    color: Colors.orange,

    child: Text("This container has a size limit to avoid overflow."),

  ),

);
The ConstrainedBox ensures the widget inside doesn’t grow beyond the defined maximum size, preventing Flutter Container Overflow.
Best Practices to Avoid Flutter Container Overflow
To prevent Flutter Container Overflow, follow these best practices:
– Use SingleChildScrollView for scrollable content.
– Leverage Flexible and Expanded for dynamic layouts.
– Apply constraints using ConstrainedBox to control widget sizes.
– Handle text overflow with the TextOverflow property.
– Test your layouts on different screen sizes to catch overflow issues early.
Conclusion
Flutter Container Overflow is a frequent issue when building layouts, but with the right techniques, it’s easy to prevent. By mastering the use of tools like SingleChildScrollView, Flexible, and TextOverflow, you can design responsive and scalable layouts without encountering container overflow. With these strategies, you’ll improve the stability and visual appeal of your Flutter apps, ensuring a smooth user experience.
Additional Resources
Links
You can read also: Generate Unique Identifiers Effortlessly Using UUID


