Manipulating the DOM or the document object model allows us to make the web frontend interactive. This is the main reason why JavaScript was created. In this article we are going to see the best guide to JavaScript DOM Manipulation.
What is DOM?
Every HTML document is represented by an equivalent tree data structure in the browser internally. This representation of the HTML elements into tree nodes is called the Document Object Model. It is quite confusing to grasp in the beginning.
You can think of DOM as the browser’s way of representing the HTML so that it can be manipulated and updated using JavaScript.
Why do we need DOM?
Want to change the font color of a heading using JS? Or change the text of the button from “Submit” to “Loading…”? It’s all possible because of the document object representation.
If the browser doesn’t create some way of representing the HTML elements, it would not only be difficult to change with JS but also would be impractical. Any changes we make to the DOM using JavaScript is updated back to reflect on the HTML elements. They are always in sync.
The above representation is a very simplified version of the DOM but it gives an idea of how it is represented in the browser. Each node of the tree has many useful properties and methods that are accessible by JavaScript.
These methods and properties help us to update the DOM and manipulate it programmatically however we want to.
Basics of DOM Manipulation
After understanding what javascript DOM is all about, it is now our time to learn to use it.
Selecting an element
To perform any operation, the HTML element must be first selected. The most popular method of selecting an element is by using id and class names.
Client side JavaScript exposes a global object called ‘document’ where we can call methods like getElementById() and getElementsByClassName()
This is the HTML document that we will be selecting with JavaScript. Note that we have put id and class names so that we can select them using javascript.
    <div id="container">
        <h1 class="heading">Heading</h1>
        <h2 class="heading">Heading 2</h2>
        <button>Click me</button>
    </div>
For selecting multiple elements we can use getElementsByClassName() method.
    const container = document.getElementById('container')
    const headings = document.getElementsByClassName('heading')

    // we can also select using query selector
    // const container = document.querySelector('#container')
    // const headings = document.querySelectorAll('.heading')

    console.log(container)
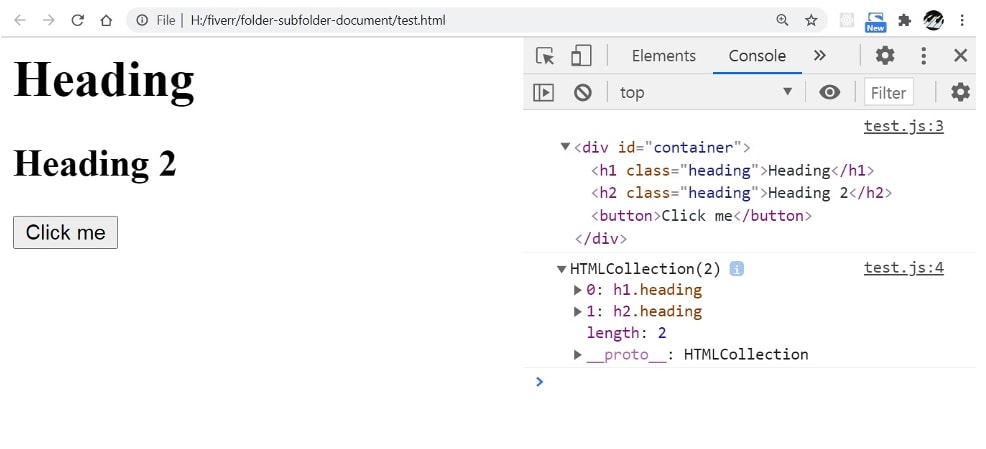
    console.log(headings)
We can also use querySelector() and querySelectorAll() which takes CSS selectors as an argument and returns elements. After we select an element, we get back a reference that we can store.
The output shows the HTML elements on the left and the DOM nodes on the right. The DOM nodes exactly represent the HTML elements. We can now call many useful methods on “container” and the “headings” reference that we selected in our example.
Common Methods to select references to DOM elements:
- document.getElementById(‘idName’)
- document.getElementsByClassName(‘className’)
- document.getElementsByTagName(‘tagName’)
- document.querySelector(‘cssSelector’)
- document.querySelectorAll(‘cssSelector’)
All of these methods return a DOM node reference that can be stored in a variable. We can then use those variables to perform many different operations that we discuss next.
DOM Manipulation Properties and Methods
We can change the style of an element or update its properties (attributes, content, etc) using the DOM reference. Here are the most commonly used properties.
1. element.innerHTML
This property will return the HTML content inside the element. We can also use this property to set the HTML content inside the element.
    const container = document.getElementById('container')
    const headings = document.getElementsByClassName('heading')

    console.log(container.innerHTML)
    // returns the html content inside the container

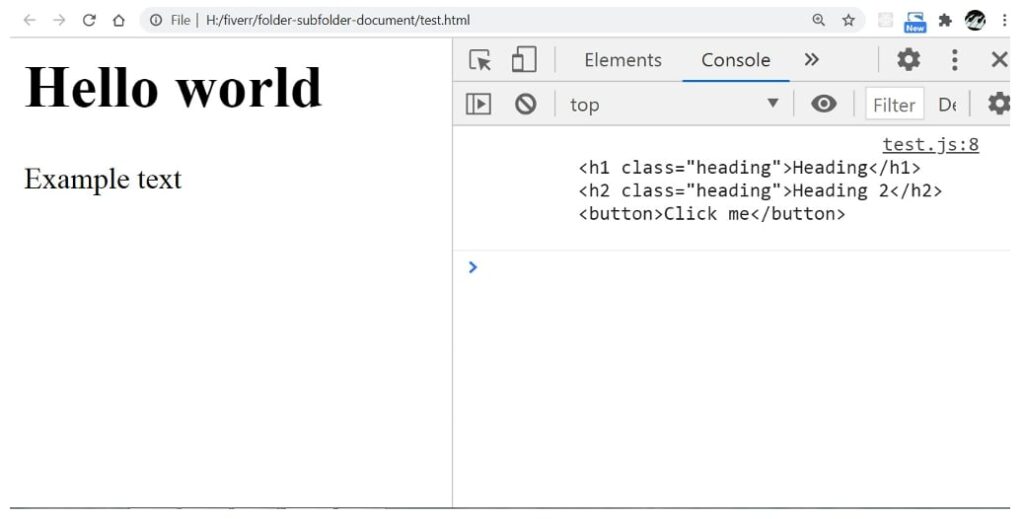
    container.innerHTML = '<h1>Hello world</h1><p>Example text</p>'
Once we use innerHTML and update its value, it is automatically reflected in the HTML output.
However, innerHTML should not be used to set the values that you get from inputs. This is because there are chances of some malicious code that hackers inject through inputs. Therefore, you should not directly set innerHTML unless you are sure about the input value.
You can use alternatives to innerHTML like element.innerText and element.textContent properties.
2. Traversing The DOM
Sometimes, traversing the DOM is necessary when you want to get the desired element. If you have a DOM element and say you want to get its second child element. This is only possible if you use the traversal methods. Some useful ones are given below.
element.firstElementChild
Returns the first child element of the DOM node.
element.lastElementChild
Returns the last child element of the DOM node.
element.nextElementSibling
Returns the reference to the next element that is a sibling of the element where the method is being called.
element.previousElementSibling
Returns the reference to the previous sibling element.
element.parentElement
Returns the reference to the parent of the DOM element.
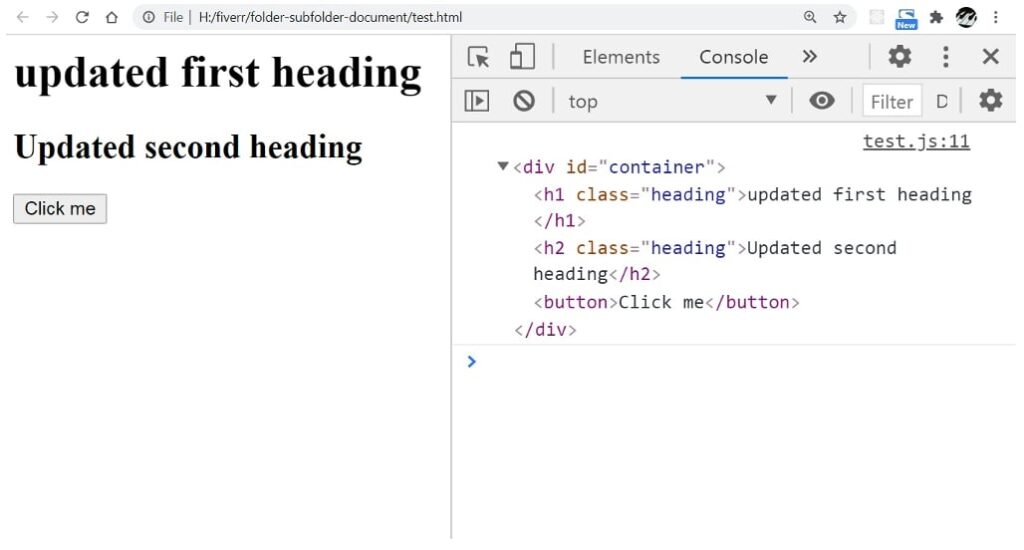
Using these methods we can move through the DOM and get the element that we want to change. Here is an example that uses these methods to update the content of headings by traversing from the parent:
HTML Code
    <div id="container">
        <h1 class="heading">Heading</h1>
        <h2 class="heading">Heading 2</h2>
        <button>Click me</button>
    </div>
    <script src="test.js"></script>
JavaScript Code
    const container = document.getElementById('container')
    // change the heading text of the second child element of container

    const firstHeading = container.firstElementChild
    const secondHeading = firstHeading.nextElementSibling

    firstHeading.innerText = 'updated first heading'
    secondHeading.innerText = 'Updated second heading'

    // returns the container element as it is
    // the parent of secondHeading / firstHeading

    console.log(secondHeading.parentElement)
Browser Output
3. Creating, Inserting, and Removing DOM elements
We can also create new DOM elements using javascript and append them to the existing HTML elements to see the output. And the same is possible for removing DOM elements.
document.createElement(‘elementName’)
This method will create a DOM element. The element can be any one of the valid HTML elements. Once we create the element, we can use any operation on it like innerHTML or innerText but it will not show up in the browser unless it is appended to some parent element.
parentElement.append(childElement)
If we have an element to append then we can append them inside some other element using .append(), which will be the parent.
parentElement.removeChild(childElement)
We can remove a childElement by using the method removeChild on the parentElement. If we want to just remove the child without knowing the parent then we can use:
childElement.parentNode.removeChild(childElement)
But in most browsers, we can safely use element.remove() method which is so much easier. However, remove() will not work in IE(internet explorer) browser. It supports only removeChild().
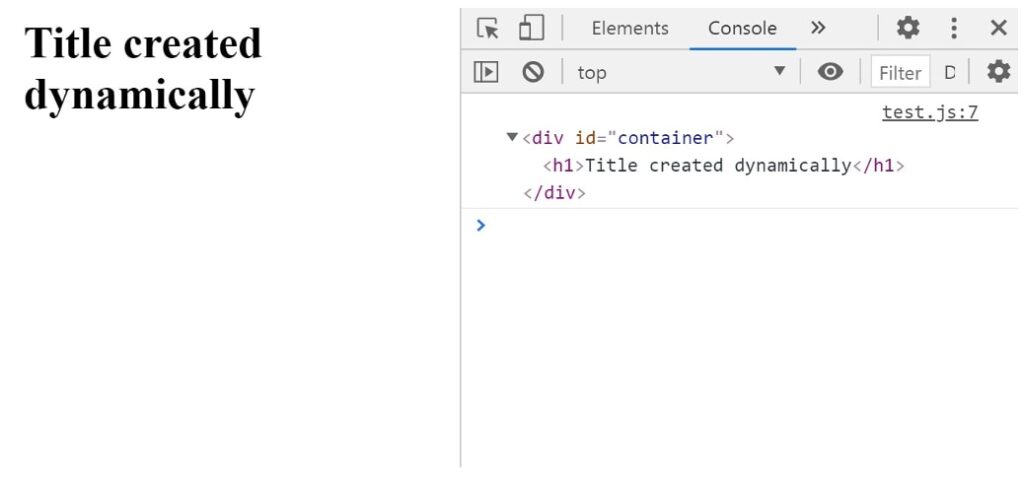
Example to add an h1 element dynamically.
HTML Code
    <div id="container">
    </div>
    <script src="test.js"></script>
JavaScript Code
    const container = document.getElementById('container')

    const title = document.createElement('h1')
    title.innerText = 'Title created dynamically'
    container.append(title)

    console.log(container)
Browser Output
4. Other important methods of DOM node
Apart from the ones we have discussed, they only allow basic dom manipulation. These 3 additional methods below are necessary to know
1. element.getAttribute(‘attributeName’)
2. element.setAttribute(‘attributeName’, ‘attributeValue’)3. element.style.propertyName
This property updates the CSS property of the element. Eg: myElement.style.backgroundColor = “red” will change the element background color to red.
Conclusion
DOM manipulation is a regular task that you will have to do when you use client-side JavaScript. However these days, many frameworks implement DOM methods behind the scenes so you don’t have to worry much.

